How to build a gaming PC
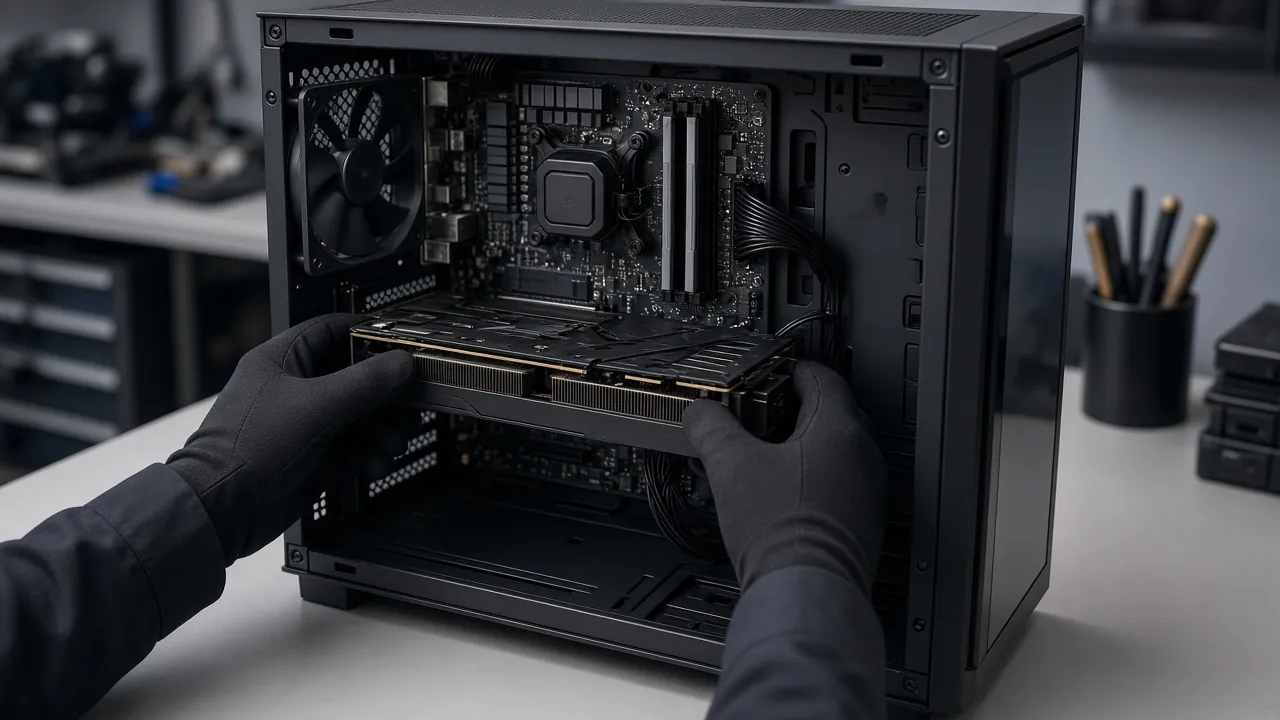
A practical, first-time-friendly walkthrough for assembling a desktop gaming PC: ESD-safe prep, CPU and cooler, dual-channel RAM, M.2 storage, case and PSU cabling, GPU power (including 12V-2x6), first BIOS setup with XMP/EXPO, Windows USB install, and essential drivers.
Requirements
- Compatible CPU and motherboard (matching socket: e.g. Intel LGA 1700/1851 or AMD AM5)
- PC case with correct standoffs for your motherboard form factor
- CPU cooler sized for your CPU TDP (air or AIO)
- DDR4 or DDR5 memory kit matching the motherboard
- M.2 NVMe SSD (and optional SATA drives)
- ATX power supply with enough wattage and the right GPU cables (PCIe or 12V-2x6)
- Graphics card (or a CPU with integrated graphics for troubleshooting)
- Thermal paste if the cooler is not pre-pasted
- Phillips screwdriver and antistatic wrist strap
- Monitor, keyboard, mouse, and Ethernet or Wi-Fi
- Blank USB flash drive (8 GB or larger) and a Windows license
- Optional: the JustForGamerz PC setups / parts list for shopping ideas (no product links in this tutorial)
Steps
- 1
Prep your workspace and tools
Work on a hard, non-carpeted surface with room to lay out every part in its anti-static bag until you need it. Keep the system powered off the whole time you assemble: unplug the AC cord from the wall (board makers such as ASUS require this before CPU/DRAM work) and set the PSU rear switch to off if it has one. Take ESD precautions—Intel and AMD both call for proper grounding. Wear a snug antistatic wrist strap clipped to unpainted metal that is actually grounded, or work on a grounded ESD mat; painted case interiors often will not discharge static (AMD’s handling guide). Have a Phillips screwdriver, the motherboard and cooler manuals, and thermal paste ready if your cooler is not pre-pasted.
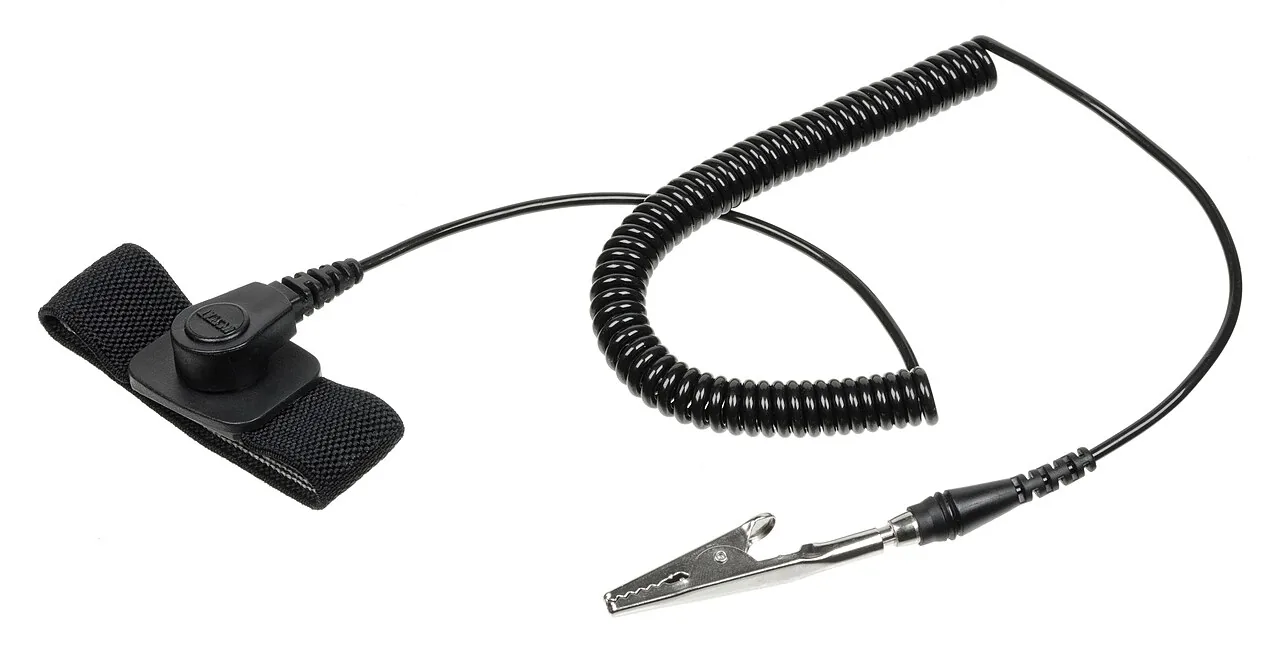
Photo: Evan-Amos, Public domain, via source - 2
Install the CPU
Confirm the CPU matches the motherboard socket before opening the package—Intel LGA 1700 and LGA 1851 look similar in size but are not interchangeable, and AMD AM5 CPUs only fit AM5 boards. With power disconnected, lift the socket load lever and open the load plate. Align the CPU’s triangle/Pin 1 marker and notches with the socket’s matching marks, then set the processor in place with zero force; it should drop in. Close the load plate and lock the lever only after the CPU sits level in all corners. Improper seating before locking the lever can damage the package or pins. The plastic socket cover usually ejects when the lever locks—keep it for return shipping.
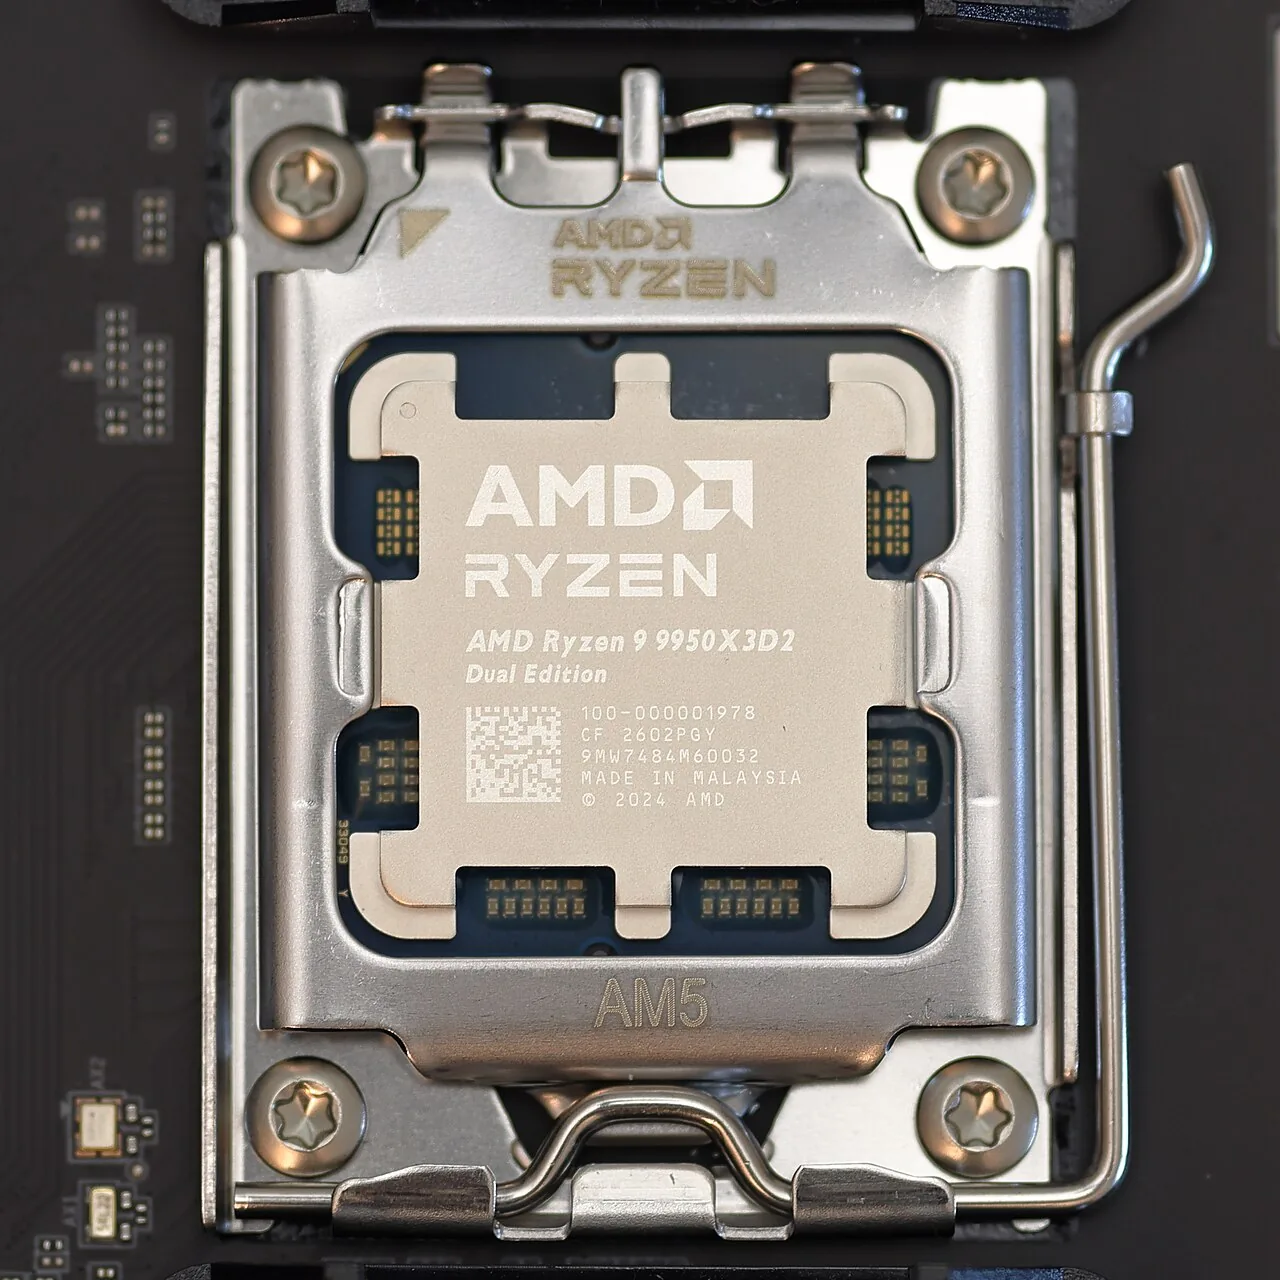
Photo: Christoffer Hjeltnes Støle, CC BY-SA 4.0, via source - 3
Install the memory (RAM)
Use matched modules from one kit and install them in the dual-channel slots your motherboard manual recommends—on many ASUS and MSI boards that is DIMM_A2 and DIMM_B2 for a two-stick kit. Open the slot clips, align the module notch with the slot key, and press straight down until both clips lock. Wrong-generation DIMMs will not fit (DDR4 and DDR5 are keyed differently). Leave XMP or EXPO off for now; you will enable the memory profile in BIOS after the first successful POST.
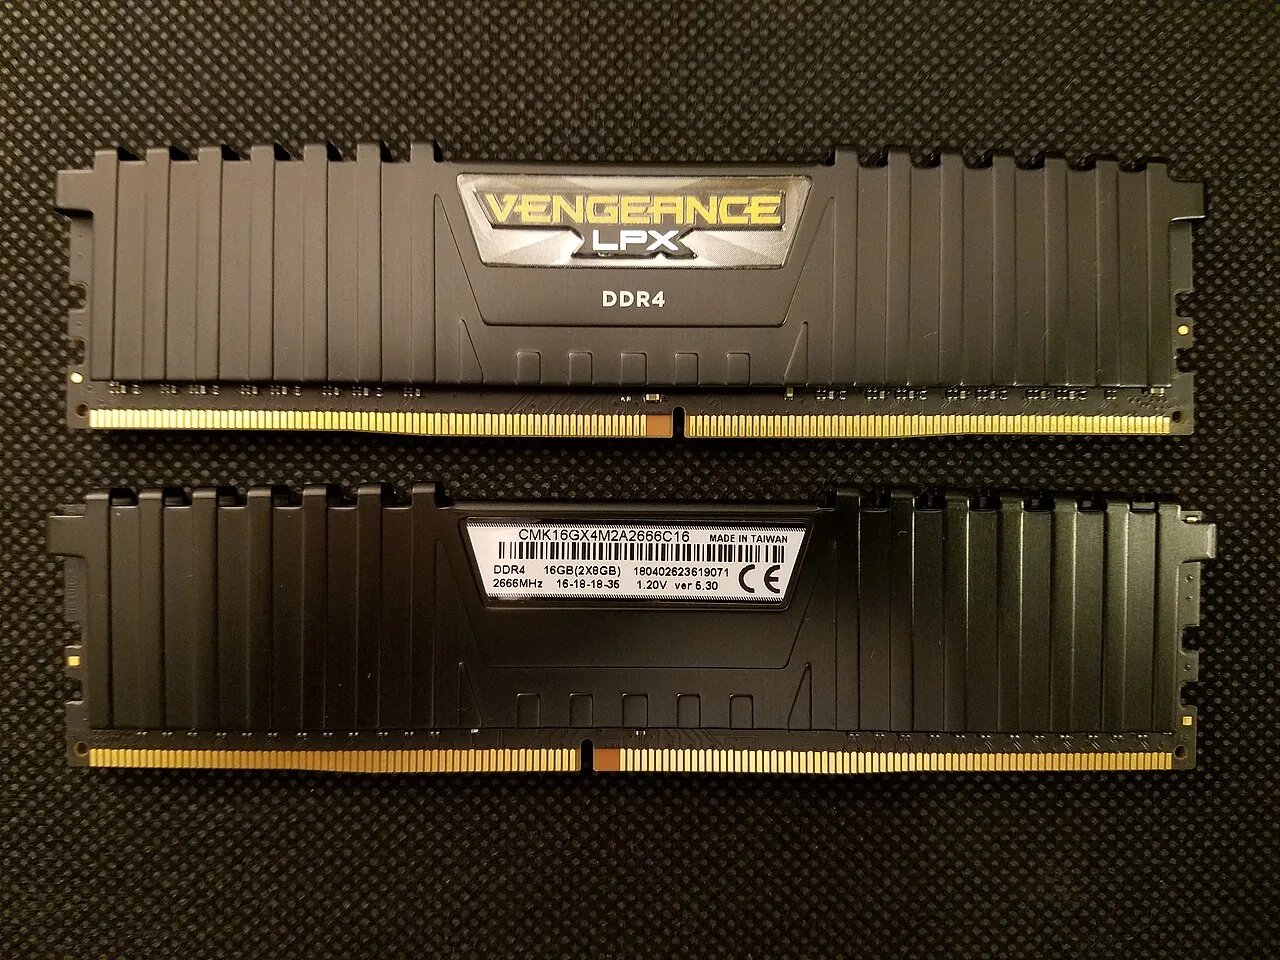
Photo: Bretwa, CC BY-SA 4.0, via source - 4
Install the M.2 SSD
Install storage while the board is still easy to reach. Identify the primary M.2 slot in the motherboard manual (often the CPU-attached slot for the boot drive). Remove any heatsink or open the retention latch/Q-Latch as directed, insert the SSD at a shallow angle into the keyed slot, then lay it flat and secure it with the screw or latch. Reinstall the heatsink if your board uses one, and replace any thermal pads that came with the cooler. Do not force a module that does not match the slot key or length markings.
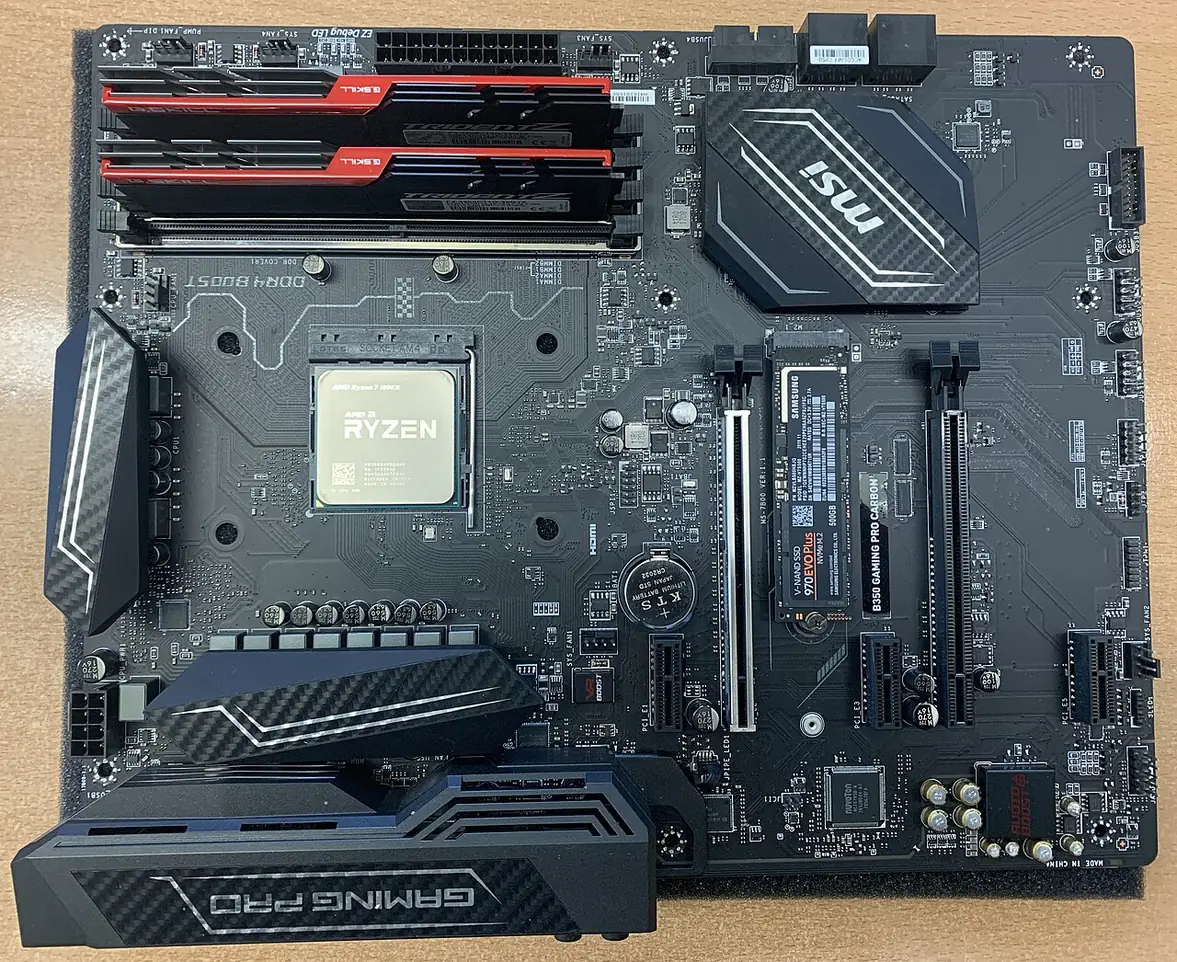
Photo: Michael Wolf, CC BY-SA 3.0, via source - 5
Mount the CPU cooler
Never power on without a cooler. If the cooler has pre-applied paste, peel the protective film and skip adding more. Otherwise apply a small, even amount of thermal paste on the CPU heat spreader as the cooler maker directs. Mount any required backplate, set the heatsink level on the CPU, and tighten fasteners in a cross pattern so pressure stays even. Plug the cooler fan (or pump) into the CPU_FAN or AIO_PUMP header named in your manuals. AMD guidance stresses a leveled heatsink and fresh thermal interface before first power.
- 6
Install the motherboard in the case
In the case, install brass standoffs only in the holes that match your motherboard form factor (ATX, mATX, or ITX)—extra or missing standoffs can short or leave the board unsupported. If the board does not have a pre-mounted rear plate, press the bundled I/O shield into the case rear opening from inside until it seats (edges can be sharp). Lower the motherboard so the rear ports line up with the shield, then fasten every mounting hole with the case screws without overtightening.
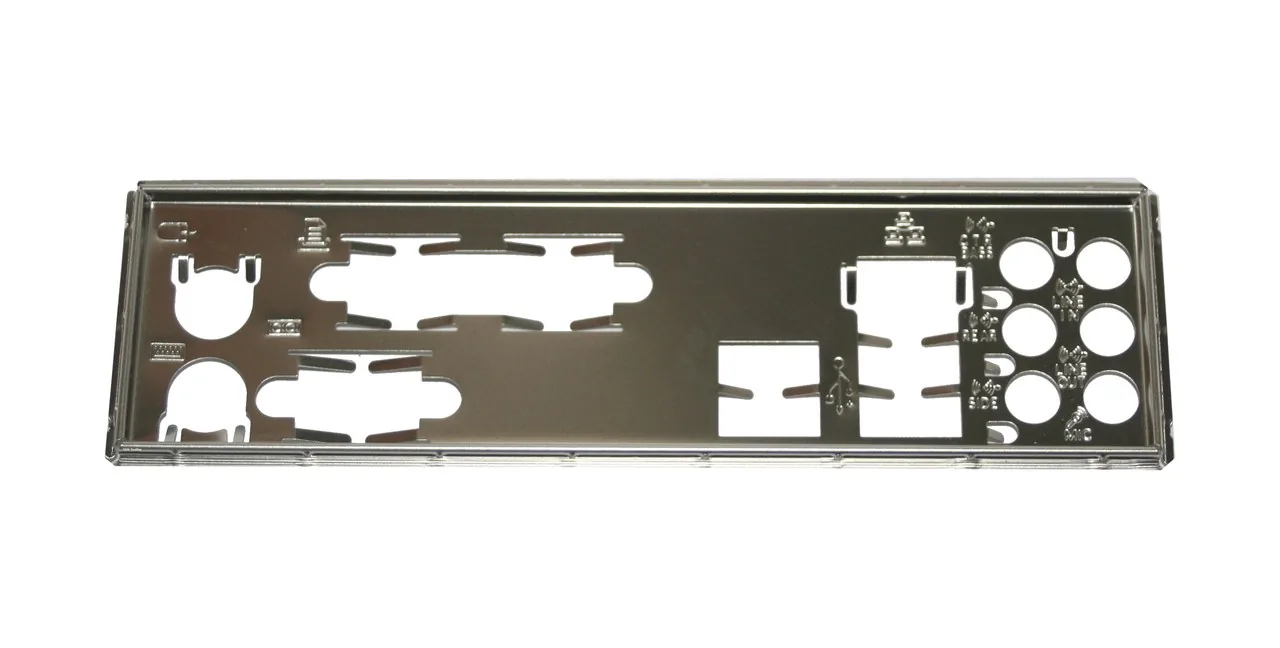
Photo: Michael Krawczyk, CC BY-SA 3.0, via source - 7
Install the power supply
Mount the PSU in the orientation your case manual shows, usually with the fan facing a vent or down into a mesh floor. Secure it with the case screws. Prefer a safety-certified unit sized for your CPU and GPU; Corsair and other PSU makers document which modular cables belong to which connectors. Keep the AC cord unplugged and the rear switch off while you cable the system.
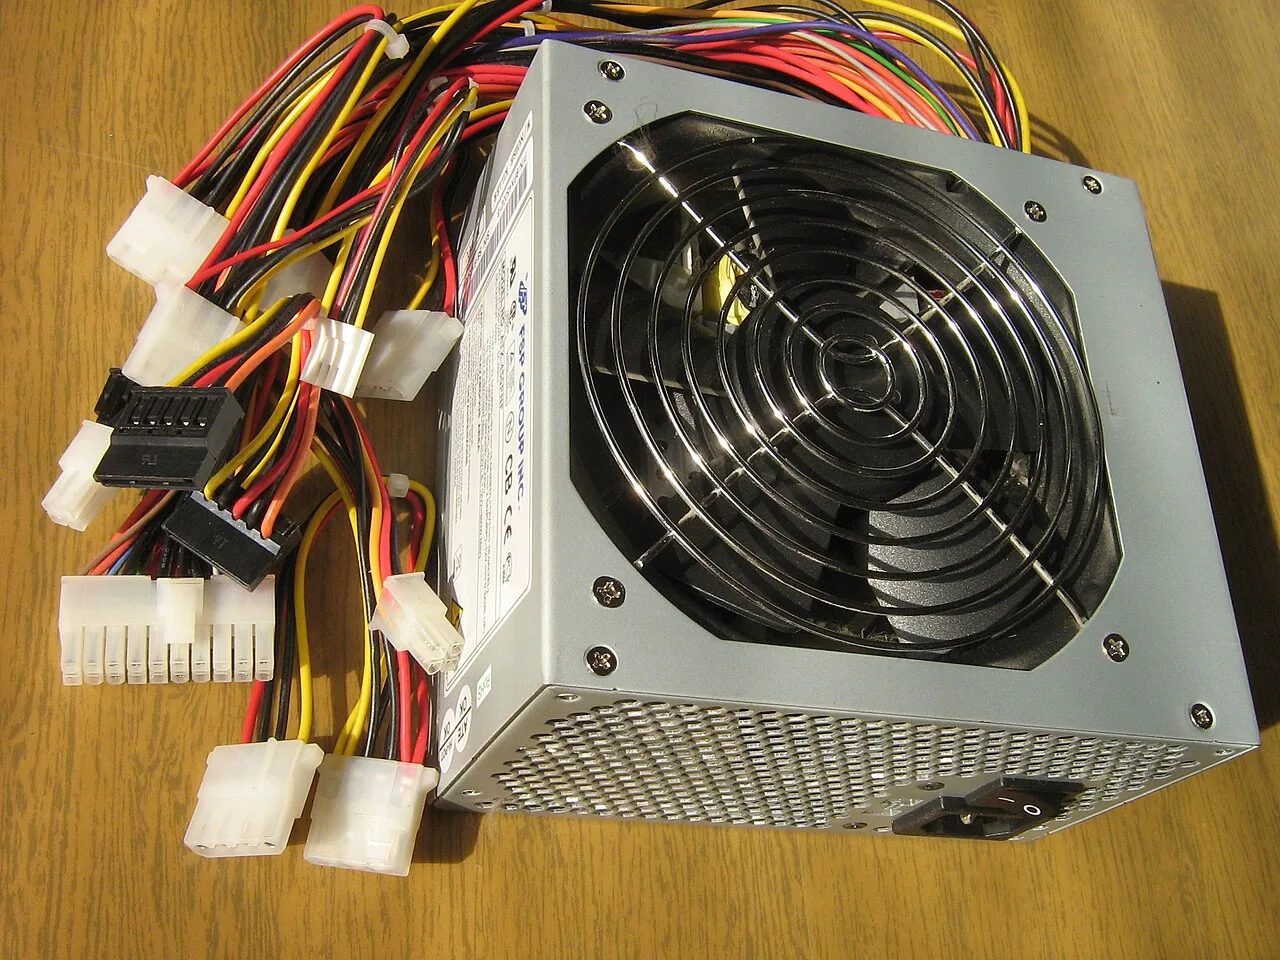
Photo: Victor Korniyenko, CC BY-SA 3.0, via source - 8
Connect motherboard, front-panel, and fan cables
Seat the 24-pin ATX connector on the motherboard until the side latch clicks, then connect the 8-pin (or 4+4) EPS/ATX12V CPU power near the socket—use both CPU power plugs if the board has two and you plan heavy loads. ATX plugs fit only one way; do not force them. Wire the case front-panel header (power switch, reset, power LED, HDD LED) exactly as labeled on the board silk-screen or Q-Connector. Plug case and CPU fans into the matching FAN headers so the BIOS can see them.
- 9
Install the graphics card
Remove the case slot covers for the primary PCIe x16 slot. Align the card’s notch with the slot, press straight down until the retention latch clicks, and screw the bracket to the chassis. Connect every required GPU power plug with separate PCIe cables from the PSU—do not daisy-chain one cable across multiple GPU inputs when the card maker forbids it. For 12V-2x6 / 12VHPWR, push the plug fully home until the latch clicks with no gap at the housing; Seasonic and other PSU makers warn not to bend the cable sharply next to the connector after it is seated.
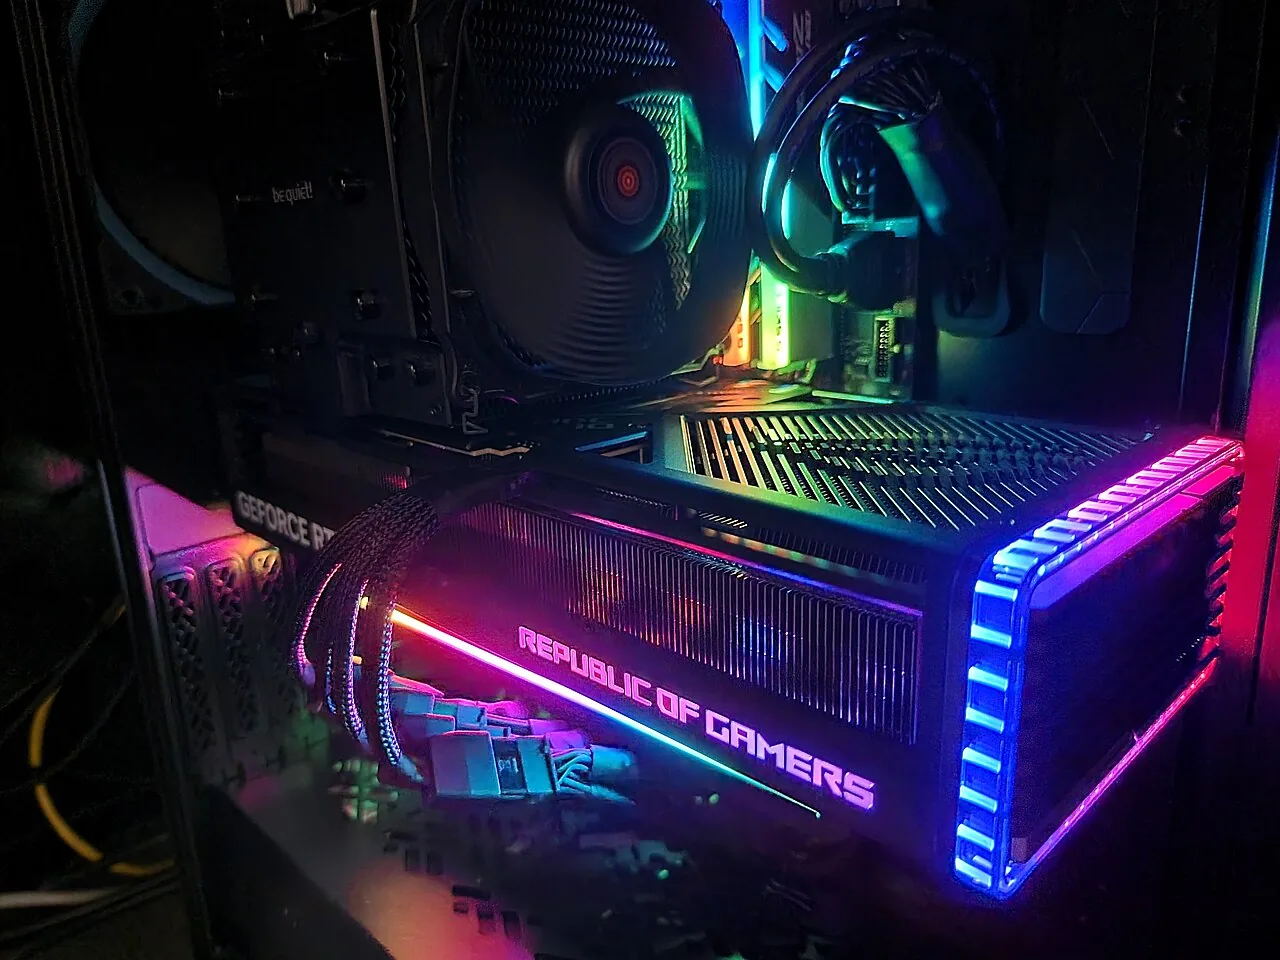
Photo: Benlisquare, CC BY-SA 4.0, via source - 10
First boot and BIOS setup
Close the side panel enough for safety, connect the monitor to the GPU (not motherboard video unless you are using integrated graphics), then power the monitor and PC. Watch for POST: fans spin, board LEDs progress, and a logo or text appears. If nothing shows within about 30 seconds, recheck power cables, RAM seating, and GPU power. Enter BIOS/UEFI (often Delete or F2). Confirm CPU, memory size, and the M.2 drive are detected. Enable the memory profile (XMP on many Intel boards, EXPO on many AMD boards; some menus say DOCP or A-XMP). Set the boot order so your Windows USB will be tried first for the next step, then save and exit (commonly F10).
- 11
Install Windows from USB media
On another working PC, download Microsoft’s Media Creation Tool from the official Windows 11 download page, run it as administrator, and create installation media on a blank USB flash drive of at least 8 GB (the tool erases the drive). Plug that USB into the new PC, boot from it via the BIOS boot menu or boot order, then follow Setup to install Windows onto the M.2 drive. Have a product key or digital license ready if Setup asks. After install finishes, remove the USB so the system boots from the internal SSD.
- 12
Install chipset drivers, GPU drivers, and updates
Connect to the internet, then install the motherboard chipset package from AMD or Intel for your chipset (AMD’s chipset installer lists components and asks for a reboot). Next install the GPU driver from NVIDIA’s GeForce Drivers page or AMD’s Radeon drivers page—prefer the maker’s package over a generic Windows driver for games. Finish with Settings → Windows Update → Check for updates, and reboot when prompted. Optionally install motherboard LAN/audio utilities from the board maker if Windows Update did not cover them.
Tips
- Build on the motherboard box or an anti-static mat before placing the board in the case so CPU, RAM, M.2, and cooler are easier to reach.
- If POST fails after enabling XMP/EXPO, clear CMOS per the motherboard manual and try a lower profile or updated BIOS.
- Connect the display cable to the graphics card’s ports, not the motherboard I/O, when a discrete GPU is installed.
- Keep the motherboard I/O shield and CPU socket cover; you may need them for RMA returns.
- Photograph front-panel wire labels before disconnecting anything if you ever tear the system down.
Sources
- Intel: Processor installation for Core 12th–14th gen (LGA 1700)
- Intel: Processor installation for Core Ultra Series 2 (LGA 1851)
- Intel: LGA 1851 and LGA 1700 socket incompatibility
- Intel: Installation manuals for boxed desktop processors
- AMD: How to install Ryzen processors
- AMD: Processor handling guidance (ESD, insertion, thermal)
- AMD: Install Ryzen chipset drivers on Windows
- AMD: Drivers and Support downloads
- ASUS: How to install CPU on motherboard (LGA 1851/1700 and AM5)
- ASUS: How to install DRAM on motherboard
- ASUS: Enable XMP / EXPO / DOCP in BIOS
- ASUS: How to install the graphics card on motherboard
- ASUS: Motherboard Installation Guide (PDF)
- ASUS: Build a new PC installation FAQ index
- MSI: How to choose and install memory correctly
- MSI: 12VHPWR vs 12V-2x6 connectors
- Corsair: Which PSU cables go where
- Seasonic: RTX 40-series and 12VHPWR / 12V-2x6 cable guidance
- G.SKILL: How to enable XMP/EXPO for DDR4 & DDR5
- Microsoft: Download Windows 11 (Media Creation Tool)
- NVIDIA: Official GeForce drivers